www.upworthy.com
Self-proclaimed 'master procrastinator' takes us on a tour of his mind. It's so relatable.
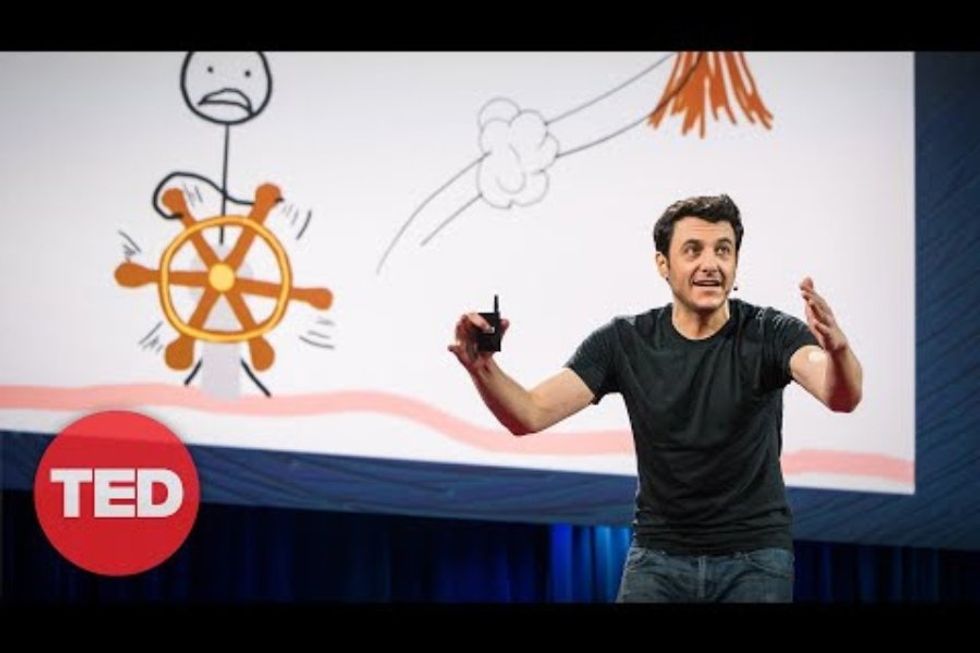
Procrastination is a common but baffling phenomenon that doesn't make logical sense but most of us engage in to some degree. We know we need to do something that we don't really feel like doing, so we put it off until we have no choice but to hustle and get it done. But some of us are habitual procrastinators to the point where we put off things we desperately don't want to procrastinate on. Unless it's something fun or super interesting, a task will get delayed until the last minute, when our panic causes a superhuman ability to kick in that enables us to complete the task in record time. Then we kick ourselves for creating so much stress over procrastinating something that we could have simply done earlier.One such "master procrastinator," Tim Urban, gave us a glimpse inside his mind with an entertaining and oh-so-relatable TED Talk. Using rudimentary illustrations, self-deprecating humor and characters like Rational Decision-Maker, Instant Gratification Monkey and The Panic Monster, Urban demonstrates what happens in a procrastinator's brain at every point in the process.Watch:
- YouTube
www.youtube.com
Urban begins by explaining how he wrote papers in college, not gradually doing a little work on it each day but rather doing it all right before it's due. But then he had a 90-page thesis to write, which should take a year. Theoretically, you would do a little at a time, building up over the course of the school year with a bigger push toward the end. But Urban kept struggling to get started, pushing his plan further and further, until he had only three days to get it done. "And so I did the only thing I could," he said. "I wrote 90 pages over 72 hours, pulling not one but two all-nighters—humans are not supposed to pull two all-nighters—sprinted across campus, dove in slow motion and got it in just at the deadline." Spoiler: It wasn't good. The three characters that live in the mind of a procrastinatorNow a writer and blogger, Urban wanted to explain to non-procrastinators what happens in the brain of a procrastinator. He showed that a normal person's brain has a Rational Decision-Maker at the helm, whereas a procrastinator has both a Rational Decision-Maker and an Instant Gratification Monkey. When the Decision-Maker makes the rational decision that it's time to get some work done, Instant Gratification Monkey resists. "He actually takes the wheel, and he says, 'Actually, let's read the entire Wikipedia page of the Nancy Kerrigan/ Tonya Harding scandal,because I just remembered that that happened,'" Urban says. "'Then we're going to go over to the fridge to see if there's anything new in there since 10 minutes ago. After that, we're going to go on a YouTube spiral that starts with videos of Richard Feynman talking about magnets and ends much, much later with us watching interviews with Justin Bieber's mom. All of that's going to take a while, so we're not going to really have room on the schedule for any work today. Sorry!'"
media.giphy.com
He explains that the monkey is only interested in two things: Easy and Fun. That causes a conflict when Rational Decision-Maker knows that we need to do something to reach a goal and have a good outcome. "For the procrastinator, that conflict tends to end a certain way every time, leaving him spending a lot of time in this orange zone, an easy and fun place that's entirely out of the Makes Sense circle. I call it the Dark Playground. Now, the Dark Playground is a place that all of you procrastinators out there know very well. It's where leisure activities happen at times when leisure activities are not supposed to be happening. The fun you have in the Dark Playground isn't actually fun, because it's completely unearned, and the air is filled with guilt, dread, anxiety, self-hatred—all of those good procrastinator feelings."So how does a procrastinator get out of the Dark Playground? The Panic Monster, of course. Asleep most of the time, The Panic Monster comes out when a deadline gets too close and there's some scary consequence, be it public embarrassment or a career disaster, that looms. The Panic Monster is the only thing Instant Gratification Monkey is afraid of. When he shows up, the monkey flees, allowing Rational Decision-Maker to take the steering wheel once again. "And this entire situation, with the three characters, this is the procrastinator's system," Urban explained. "It's not pretty, but in the end, it works."Procrastination without deadlines is actually harder to manageHowever, he added, there are actually two kinds of procrastination—the kind with a deadline, where The Panic Monster inevitably always shows up, and the kind where there is no deadline, which means The Panic Monster stays asleep. "It's this long-term kind of procrastination that's much less visible and much less talked about than the funnier, short-term deadline-based kind," Urban shared. "It's usually suffered quietly and privately. And it can be the source of a huge amount of long-term unhappiness and regrets." He said that he had heard from people who struggle with this kind of procrastination and come to the conclusion: "The frustration is not that they couldn't achieve their dreams; it's that they weren't even able to start chasing them."Urban concluded his talk by sharing a visual of boxes, each representing a week of a 90-year life. "That's not that many boxes, especially since we've already used a bunch of those," he said. "So I think we need to all take a long, hard look at that calendar. We need to think about what we're really procrastinating on, because everyone is procrastinating on something in life." People in the comments appreciated feeling seen, even though many of them said they'd had the video saved to watch for months or years before finally getting around to it.
media.giphy.com
"Really the worst part of being a procrastinator is the guilt you endure everyday. Man it legit hurts.""'The frustration wasn't that they couldn't achieve their dreams, but they weren't even able to start chasing them.' That one sentence has beautifully and effectively summed up my feelings in a way I haven't been able to.""The worst feeling is being in the dark playground and something makes you think of the stuff you have to do. You just get that quick hit of anxiety.""As a procrastinator I often feel like everybody else is moving forward and im just standing still.""He just explained my whole life in 14 minutes."Urban's talk doesn't offer much in the way of solving the procrastination problem, but he does have a whole long blog post on his website, complete with more illustrations, with advice for reducing the procrastination habit. Find his "How to Beat Procrastination" tips here.